Sewing for NASA Through History
There is a long and impressive history of sewing for NASA. This was one of the hidden jobs that women performed in early days of spaceflight. Talented seamstresses assembled the first space suits with exceeding precision. Similarly, early computers relied on read-only memory hand woven by ladies which were essential to spaceflight. While often forgotten, this history persists in language. We still refer to “core memory” and faulty programs respond with “core dumps” even if we moved beyond copper threads through magnetic cores to store bits. The history of sewing for NASA persists…through me! Working on terrestrial instrumentation for the NASA GeoCarb project, I tailor-made parts for our equipment.

Cool Designs for Overheating Instruments
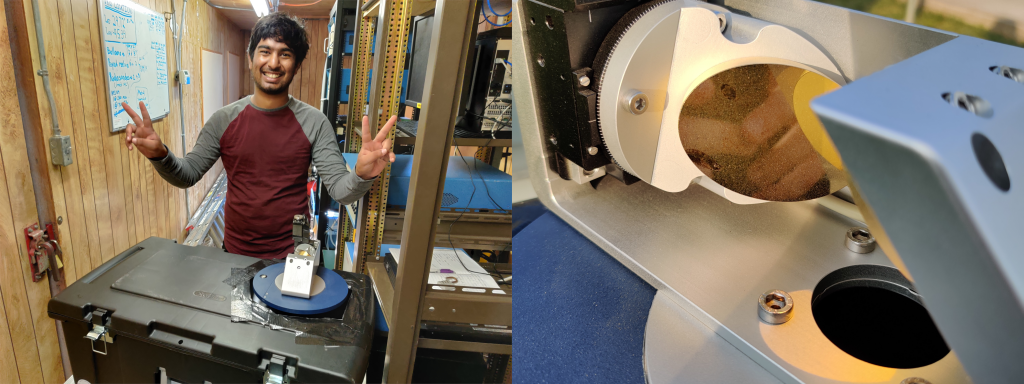
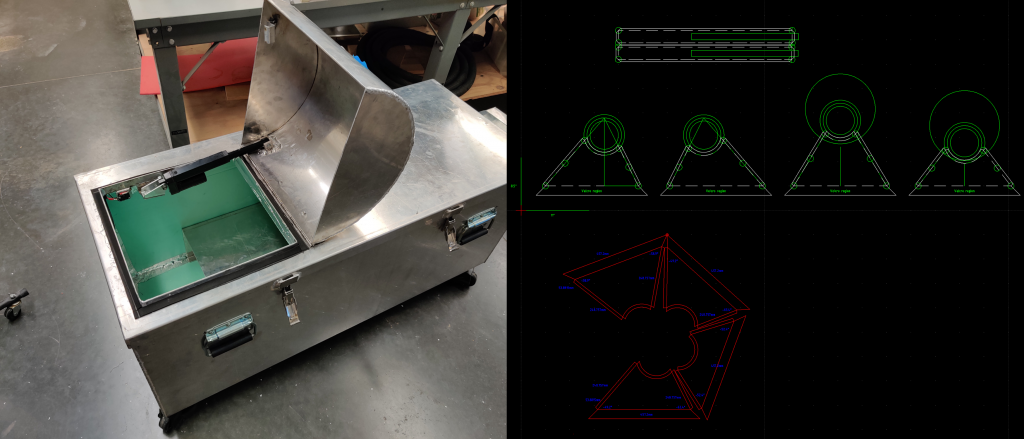
During the first part of the GeoCarb TRACER campaign, we deployed the EM27/Sun without an enclosure. We knew we needed one, but one similar to a previous design was still in fabrication. Due to the extreme heat in the field, we tried to improvise an enclosure to reduce the exposure to direct sunlight. However, this was not enough. By the time I deployed the second time for TRACER, the aluminum enclosure was complete. When I added the R-5 insulation to the new enclosure, I noticed a glaring problem. Whoever designed this box left a giant hole when the door was open. Based on the temperature, humidity, and solar intensity we experienced in Houston, I knew this was not enough. So, I set about doing my own sewing for NASA: an insulating collar.

Stitched Together
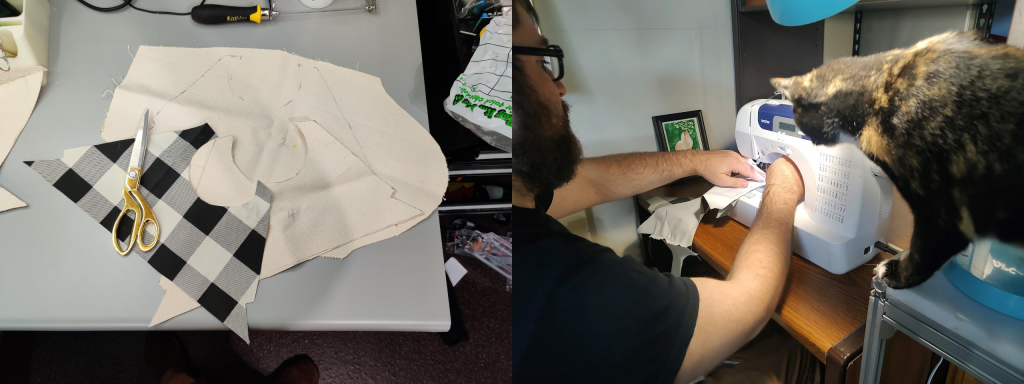
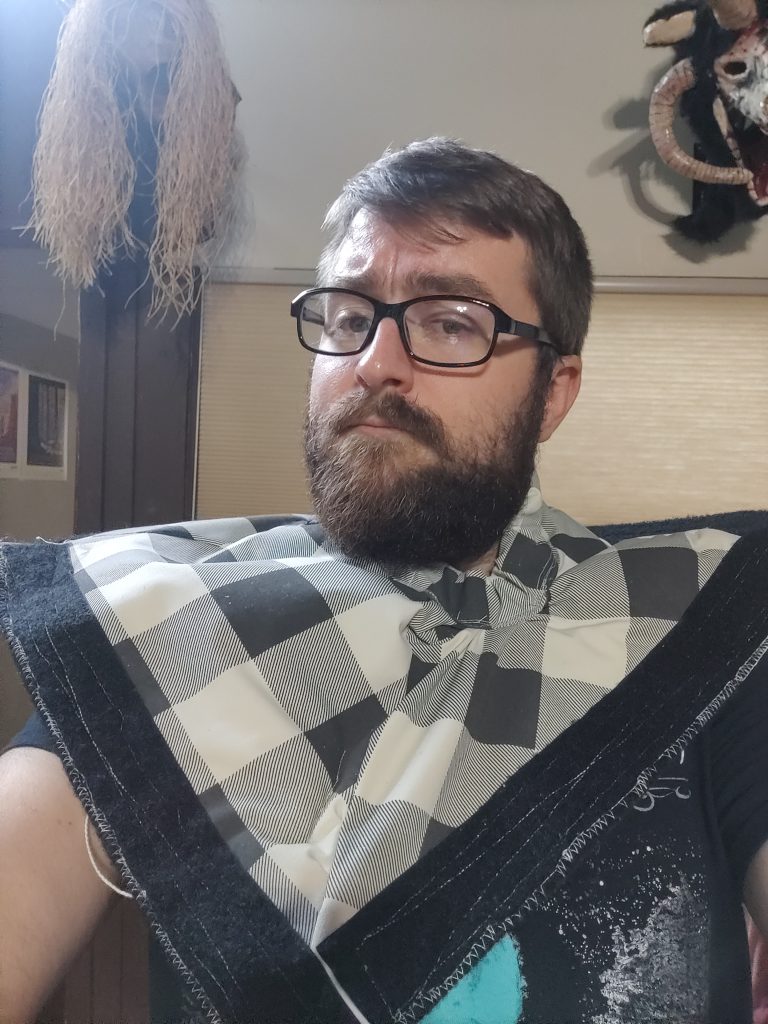
Since the stage of the EM27/Sun needs to remain exposed and mobile, I needed to design a flexible collar. The design would attach to the square opening of the enclosure but cinch around the stage supports to allow adjustment. The original designs were made using LibreCAD to easily prepare. After ironing out mistakes with a papercraft example, I was ready for the real thing. For this project, I needed the material to resist rain or dew, insulate as much as feasible, and resist bursting into flames in the case of electrical fault.
Thankfully, I had a waterproof, rubberized fabric ready from a previous mother’s day gift in an attractive gingham plaid. Who says science can’t have style? For the core, I purchased cotton batting. I chose the cotton batting over the less expensive Poly-Fil due to the low melting point of the polymer. Inside of the enclosure, we observed temperatures up to 140ºC, above the softening point of Poly-Fil. For the innermost layer, I picked some fire-retardant duck cloth. This canvas should repel water somewhat, but I did not want to rely on it in the case of a downpour. Originally, I planned to use a Velcro strap for the collar, but I worried that stray portions of this strap might loosen and tangle with the motors, opting instead for elastic. Similarly, I planned to use a combination of eyelets with Velcro edges to secure the square to the enclosure, but I discovered I needed more flex in testing. So, I abandoned the eyelets and relied on the Velcro. This served to make it easier to open the enclosure.

So Did It Work?
Yes and no. The design worked in that it held securely against the EM27/Sun and reduced the amount of cool air leaked out of the enclosure. I (thankfully) did not have an opportunity to test the water and fire resistance, but that is not a big worry. However, the enclosure itself did not work. The original design for this enclosure had insufficient insulation for Houston. The original design required welded edge supports, which means every crease in the formed box had negligible insulation. Furthermore, the R-5 insulation was entirely too weak for Houston. Even if no air was leaking out of the giant hole, the air conditioner simply could not keep up with the required cooling. Houston is just too hot and humid. This iteration of the enclosure required additional improvised water cooling to keep the instrument from crashing. It is hard to say if the collar helped. It certainly did not hurt, but other problems overshadowed it. Let’s see if my next version of the enclosure which I designed gets the same sewn treatment!
